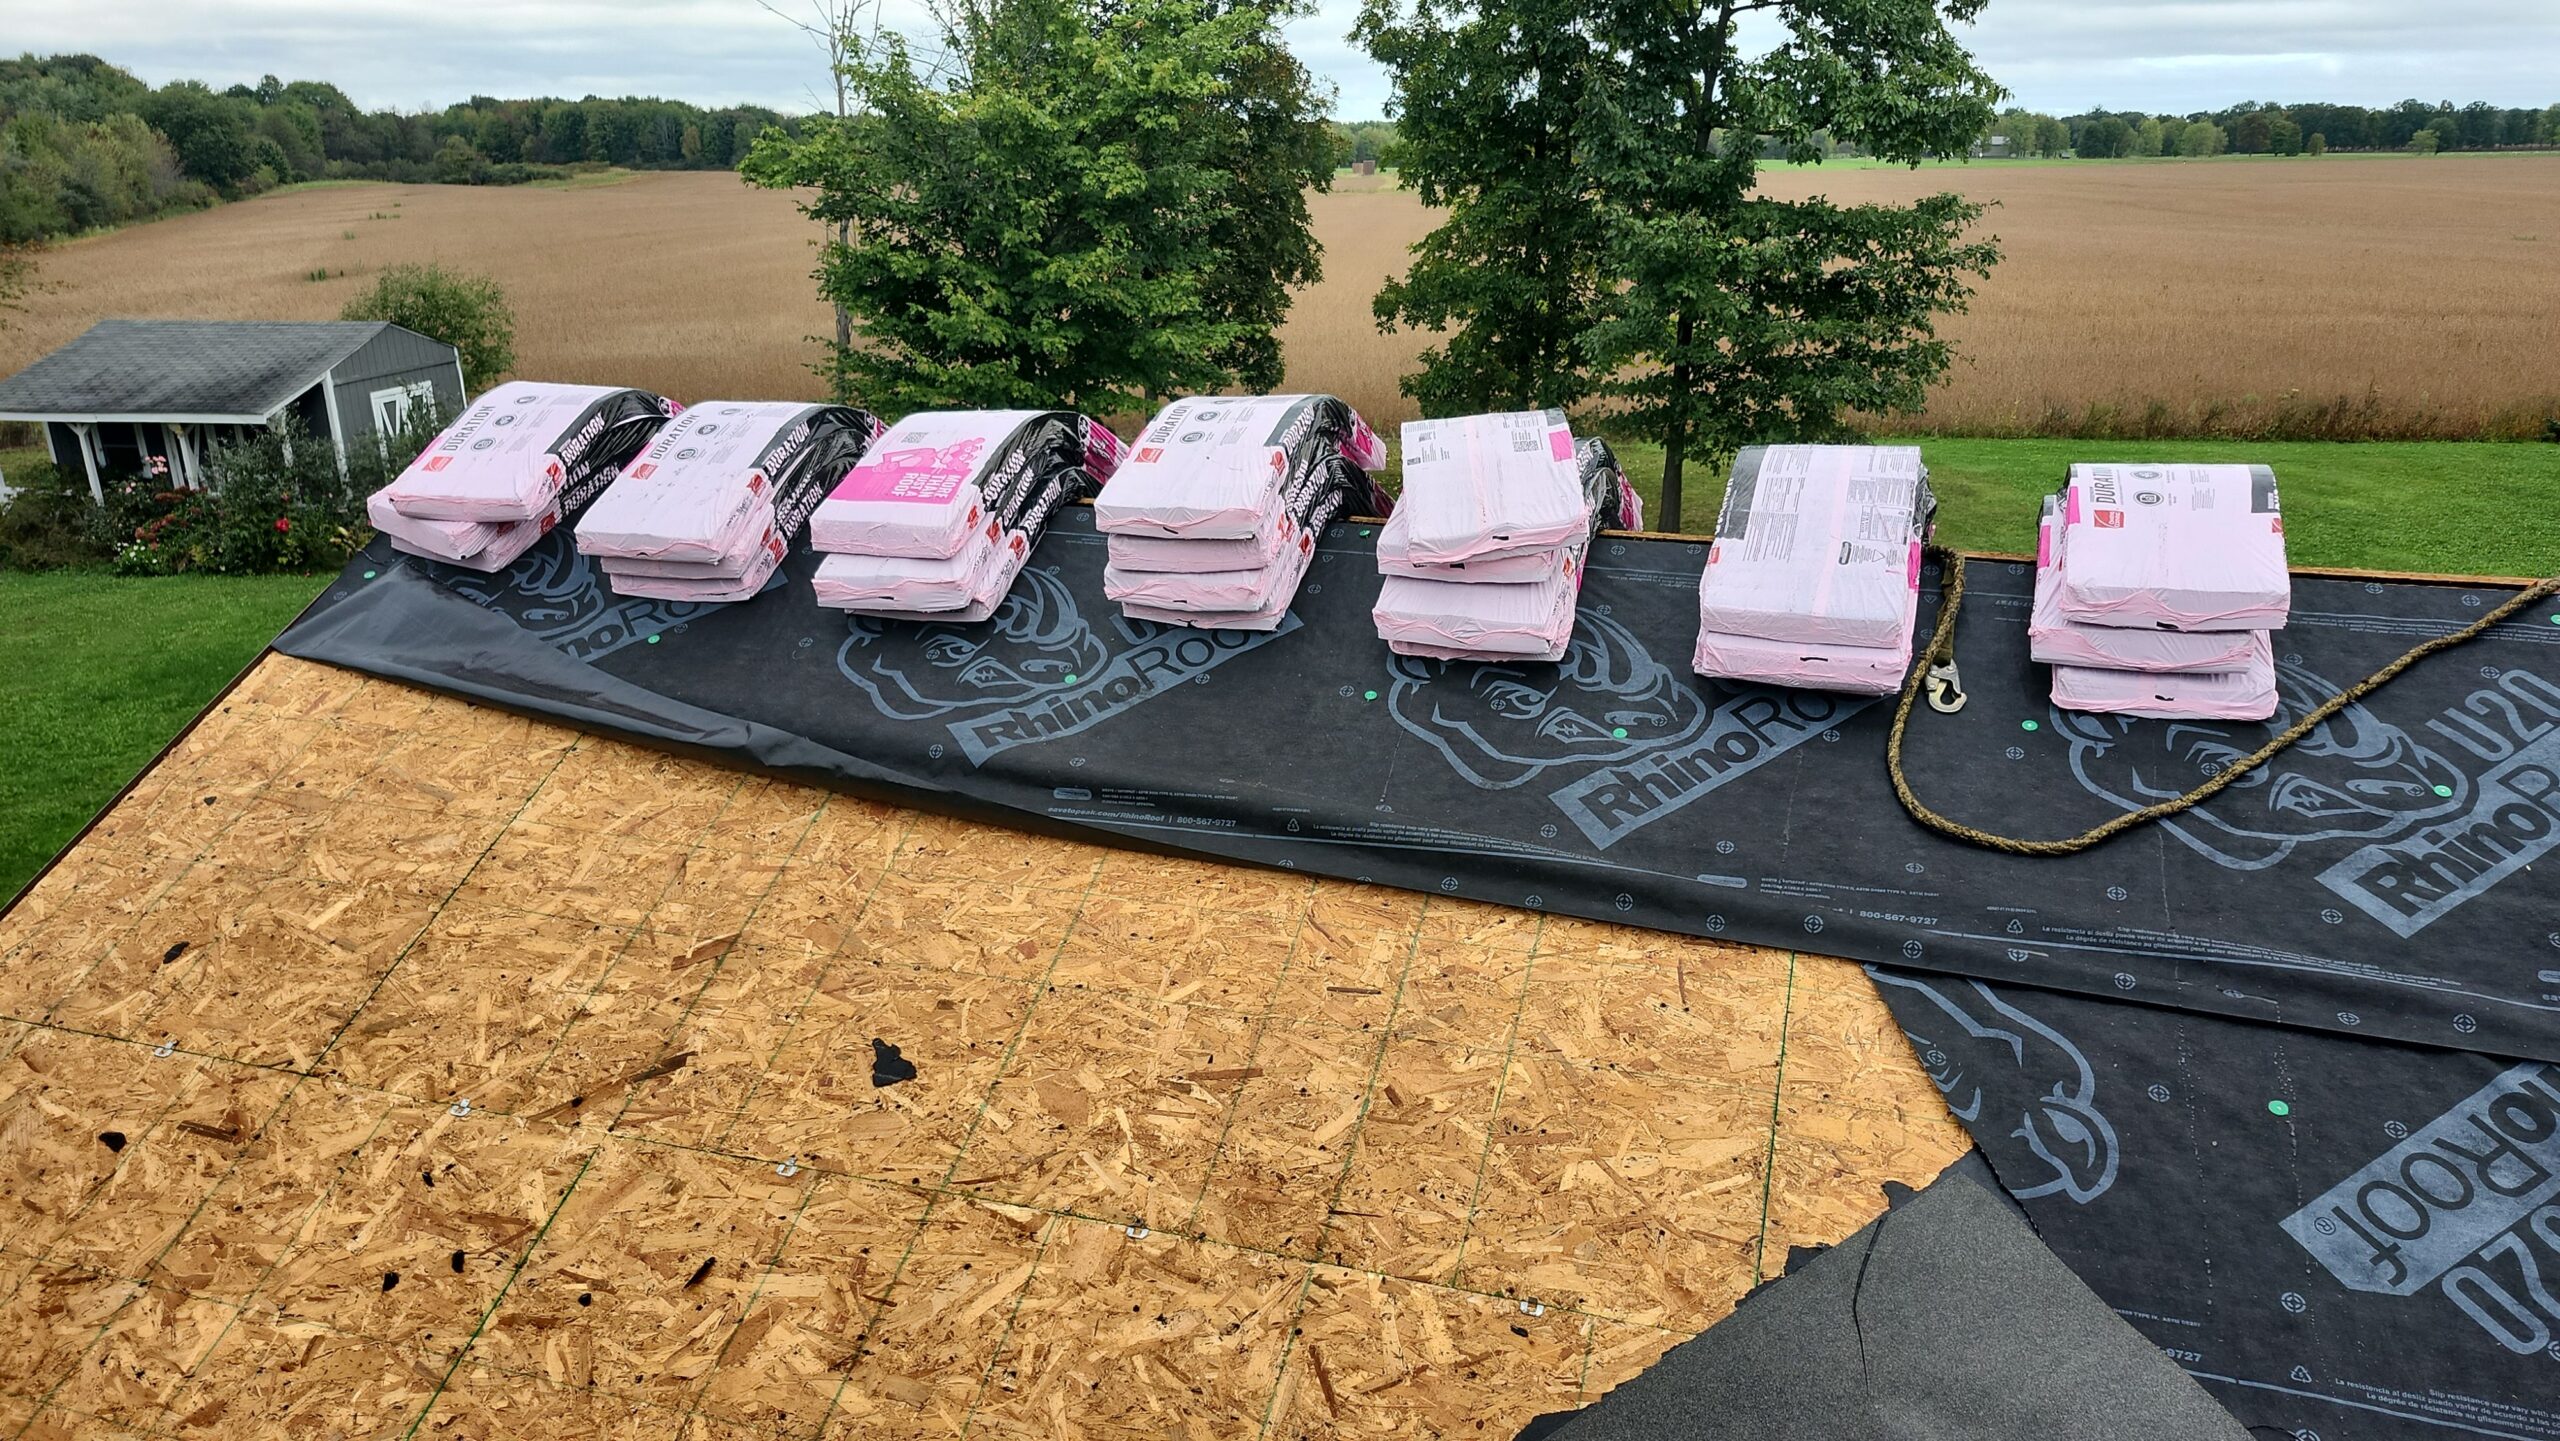
Is a Drip Edge Necessary on Your Roof?
A drip edge is a small but essential component of a roofing system that many homeowners overlook. It’s a metal flashing installed along the edges of a roof to direct water away from the fascia and into the gutters. But is it truly necessary for your roof?
In this guide, we’ll cover:
- What a drip edge is and how it works
- The benefits of installing a drip edge
- Building codes and requirements
- What happens if you don’t have a drip edge
- How to install or replace a drip edge
What is a Drip Edge?
A drip edge is a thin metal strip installed at the edges of a roof to control water runoff. It is designed to:
- Prevent water from seeping under the shingles
- Protect the fascia from moisture damage
- Improve the overall durability of the roofing system
Drip edges are usually made from aluminum, galvanized steel, or copper and come in different shapes, such as L-shaped or T-shaped designs.
Benefits of Installing a Drip Edge
1. Prevents Water Damage
Without a drip edge, water can seep behind the gutters and onto the fascia, leading to wood rot, mold growth, and structural issues.
2. Protects the Roof Deck and Underlayment
A drip edge prevents water from wicking back under the shingles, which can cause damage to the underlayment and roof deck.
3. Improves Gutter Performance
By directing water into the gutters, a drip edge helps reduce overflow and prevents water from running down the exterior walls of your home.
4. Enhances Wind Resistance
Drip edges help secure the shingles at the edges, preventing wind uplift and reducing the risk of damage during storms.
5. Extends Roof Lifespan
A properly installed drip edge contributes to the longevity of your roofing system by preventing moisture-related issues.
Are Drip Edges Required by Building Codes?
Many building codes, including the International Residential Code (IRC), require the installation of a drip edge on asphalt shingle roofs. If your roof lacks a drip edge, it may not meet local code requirements, which could affect home inspections and insurance claims.
What Happens If You Don’t Have a Drip Edge?
- Water damage to fascia and soffit
- Increased risk of mold and rot
- Compromised roof underlayment
- Potential for shingle blow-off in strong winds
- Reduced effectiveness of gutters
How to Install or Replace a Drip Edge
Step 1: Choose the Right Material
Select a metal drip edge that matches your roofing material and local building codes.
Step 2: Install Under the First Row of Shingles
The drip edge should be placed beneath the first row of shingles and over the roof deck’s underlayment.
Step 3: Secure with Roofing Nails
Fasten the drip edge with roofing nails spaced about 12 inches apart.
Step 4: Overlap Sections for Proper Water Flow
Ensure each section overlaps by at least 2 inches to maintain a continuous water barrier.
Work with Roofing Experts
At S&K Construction and Remodeling LLC, we understand the importance of every roofing detail, including drip edges. As an Owens Corning Preferred Contractor, we provide expert roof installations and repairs in Northeast Ohio.
If your roof lacks a drip edge or needs an upgrade, contact us today for a professional assessment and installation!
 (440) 307-2060


